Master Chef outdoor Stovetop Specifications
Browse online or download Specifications for Barbecues & grills Master Chef outdoor Stovetop. Master Chef outdoor Stovetop Specifications User Manual
- Page / 20
- Table of contents
- TROUBLESHOOTING
- BOOKMARKS
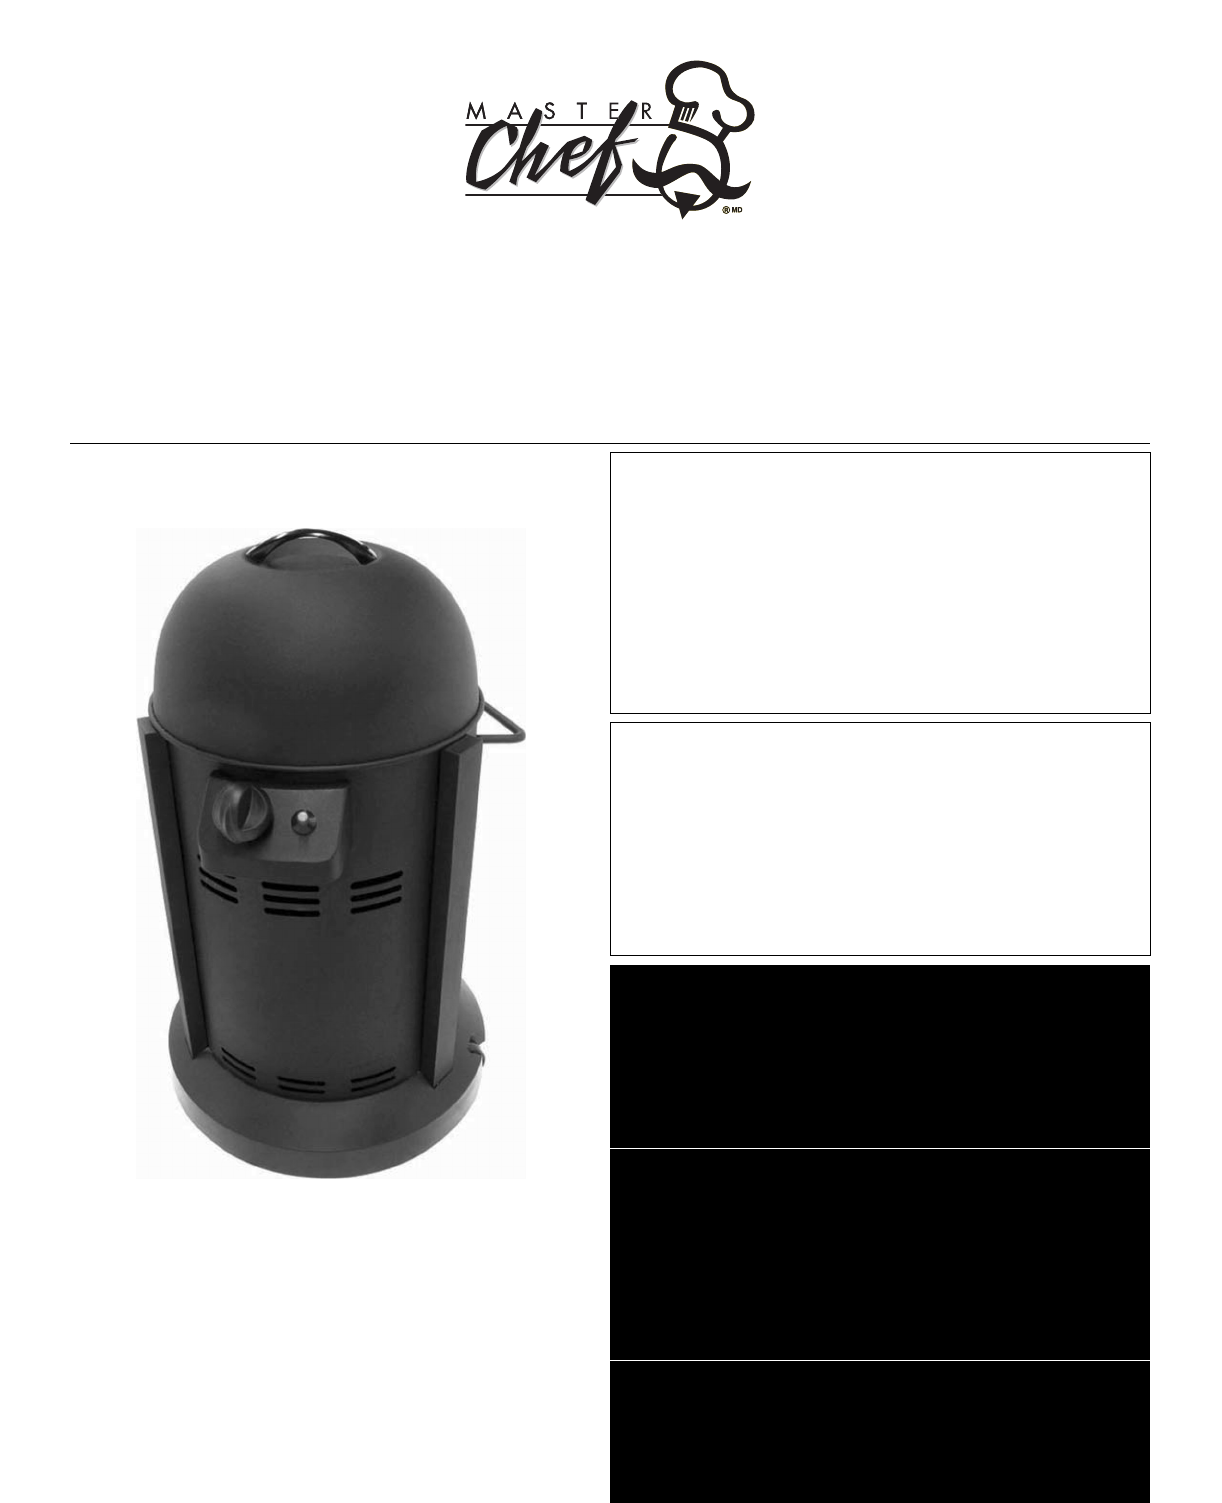
- Outdoor Stovetop 1
- WARRANTY 2
- Drawing A 3
- SAFETY HOSE 5
- AND REGULATOR 5
- FILLING THE 5
- L.P. CYLINDER 5
- LEAK TESTING 6
- PRIOR TO USING 7
- NATURAL HAZARD 7
- LIGHTING 8
- THE BARBECUE 8
- SAFETY CHECK 10
- TROUBLESHOOTING GUIDE 11
- PARTS LIST 12
- 85-1603-8 (G10601) 12
- Hardware 13
- ASSEMBLY INSTRUCTIONS 14
- VERY IMPORTANT 17
- Trileaf Distribution Trifeuil 20
- Toronto, Canada 20
Summary of Contents
WARNINGFailure to follow all of the Manufacturer’sinstructions could result in hazardousfires, explosions, property damage, orserious personal injury
8SAFETY CHECKBurner CheckLight burner, rotate knob from HI to LOW. You should see a smaller flame in theLOW position than the HI position. Always che
9For product inquires, parts, and warranty and troubleshooting support, please call 1-877-707-5463.TROUBLESHOOTING GUIDECorrective Action•Clean out bl
10PARTS LIST85-1603-8 (G10601)Item No. Quantity Description Part No.AA 1 Top Lid G106-0008-01AB 1 Handle, Top Lid G402-0001-02BA 1 Top Support Frame G
11DFDECPManualHardwarePack
12ASSEMBLY INSTRUCTIONS Tools needed for assembly are shown below.Before assembling the barbecue, please ensure that you have all the hardware needed.
131Insert 3 vertical supporting bars (CH) into tank support(DA). Secure the supporting bars to the tank support usinghardware #1 (x6) and #2 (x6).2Ass
146Assemble the Bracket Holder (CK) to the bottom of HeatShield (BE) using hardware #11 (x2) as shown. Fix the TankRetention Bracket (BL) to the brack
1577.1 Assemble the burner assembly (BC) to the heat shieldby positioning the burner Venturi tube through thehole located in the heat shield, using ha
1610Assemble the back panel (CG) by attaching to the heatshield as shown. Then place lid to cover the top of this unit.11LP CYLINDER IS SOLD SEPARATEL
1712Remove one of the hardware #3 (self tapping screw) from theFront Panel (CE), then connect the Retention Hook to theFront panel (CE) as shown using
WARRANTY1 Year Limited WarrantyThis Masterchef Outdoor Stovetop carries a 1 year limited warranty againstdefects in manufacturing workmanship. This Li
DISTRIBUTORTrileaf Distribution TrifeuilToronto, CanadaM4S 2B8
1ADDITIONAL WARNINGSINFORMATIONINSTALLATIONThe installation of this appliance must be in accordance with all local codes, or inthe absence of local co
2The Cylinder must also be equipped with:•A shut-off valve with a correct cylinder valve outlet as specified in current standards.•Canada: CAN/ CGA 1.
3SAFETY HOSE AND REGULATORPropane Models: Your barbecue is designed to operate on L.P. propane gas at a pressure of 2.74 Kpa (11˝ water column). A reg
4SAFETY LEAK TESTINGAttention: A leak test ensures that there are no gas leaks prior to lighting your barbeque.Perform A “Leak Test”•Before lighting y
5PRIOR TO USINGDrawing FDo not use your barbecue until you have carefully read and fully understandall the information in this manual. Please ensure t
6LIGHTING THE BARBECUEPrior to lighting your Outdoor Stovetop, visually check all hoses before each use,for nicks, cracking, abrasions or cuts. If the
Match-LightingDo not lean over burner while lighting.1. Remove lid. Turn on gas at LP cylinder.2. Place lit match into match holder. Place match near
More documents for Barbecues & grills Master Chef outdoor Stovetop

Related products and manuals for Barbecues & grills Master Chef outdoor Stovetop
 (17 pages)
 (26 pages)
 (64 pages)
© 2020, manymanuals.com. All rights reserved. | 1.326 s |
 Manymanuals.com
 Manymanuals.de
 Manymanuals.fr
 Manymanuals.it
 Manymanuals.pl
 Manymanuals.cz
 Manymanuals.es
 Manymanuals-pt.com
Comments to this Manuals